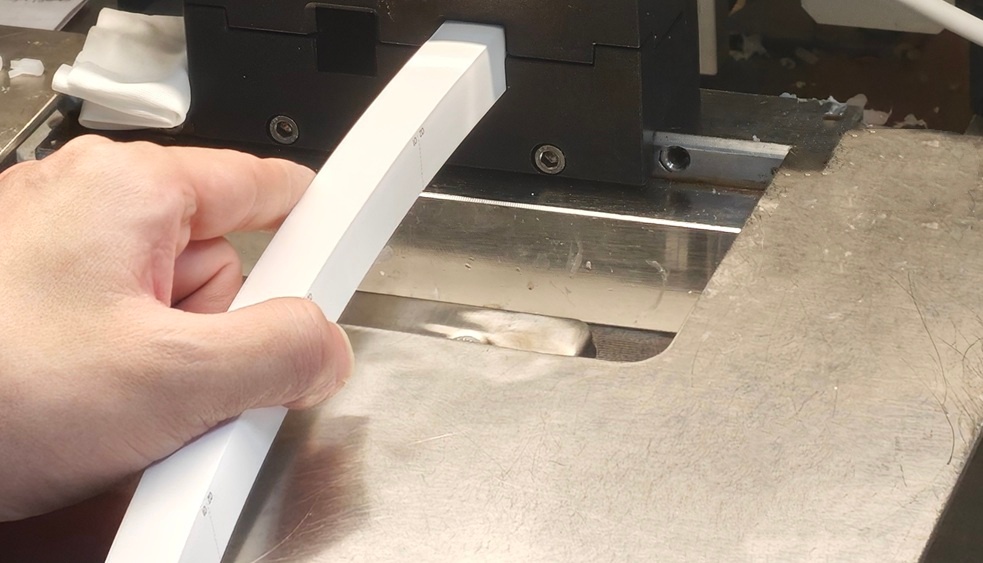
LED neon flex is one of the most versatile lighting solutions for architectural, decorative, and signage projects. Its flexibility and smooth dot-free illumination make it ideal for curves, letters, and outlines. However, to maintain brightness, longevity, and waterproofing, it’s critical to cut and connect LED neon flex properly.
Many DIYers or installers make mistakes that lead to uneven lighting, short circuits, or water ingress, so this guide will show safe, professional practices for handling LED neon flex.
Table of Contents
Understanding LED Neon Flex Structure
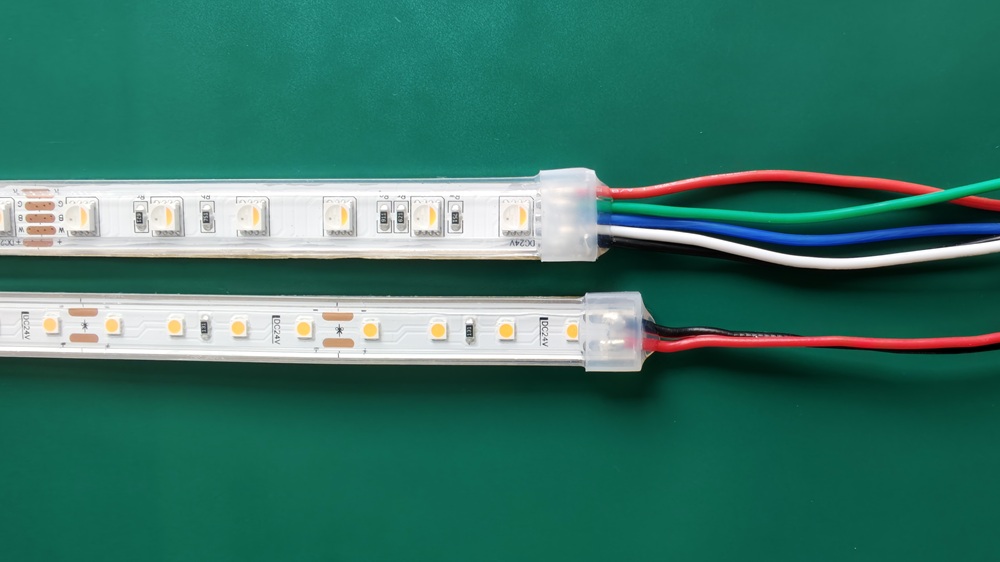
Before cutting or connecting, it’s essential to understand the structure of LED neon flex:
- Silicone housing – protects LEDs from moisture, dust, and mechanical stress
- LED PCB strip – contains the LED chips and electrical traces
- Power cables – provide electrical input to the strip
Important: Cutting anywhere outside the marked cutting points can damage the internal LEDs and void warranties.
How to Identify Safe Cutting Points
LED neon flex is manufactured with specific cutting marks, usually printed or embossed along the strip.
Key Guidelines:
- Always cut at the marked line
- Do not cut through an LED chip
- For multi-color or RGB strips, make sure to follow the wiring polarity
Cutting at the wrong point can:
- break the LED circuit
- cause uneven brightness
- compromise waterproofing
Tools You’ll Need
To cut and connect LED neon flex safely, gather these tools:
- Sharp scissors or a utility knife
- Wire stripper for preparing connections
- Soldering iron (optional for permanent connections)
- Waterproof connectors for IP-rated neon flex
- Heat shrink tubing or silicone sealant
Using the right tools prevents mechanical damage and electrical issues.
Cutting LED Neon Flex Step by Step
Step 1: Measure and Mark
- Determine the exact length needed
- Align with the nearest cutting mark
Step 2: Cut Carefully
- Use scissors or a utility knife
- Make a straight, clean cut along the marked line
Step 3: Prepare for Connection
- Strip the insulation on the exposed wire end
- For silicone neon flex, gently peel back the silicone without tearing it
Connecting LED Neon Flex
After cutting, you have several options for connecting:
Option 1: Using Clip-On Connectors
- Designed for quick, tool-free installation
- Ensure the strip fits securely and the contacts touch the copper traces
- Add silicone sealant for outdoor installations
Option 2: Soldering
- Recommended for permanent installations
Steps:
- Strip wires
- Tin the wires and neon PCB
- Solder wires onto the correct pads
- Seal with heat shrink tubing or silicone
Option 3: Power Injection for Long Runs
- For runs exceeding manufacturer’s recommended length
- Connect additional power wires at intervals to maintain voltage and brightness
- Use waterproof connectors for outdoor or IP67/IP68 strips
Maintaining Waterproof Integrity
Outdoor or bathroom installations require waterproof neon flex.
Tips:
- After cutting or connecting, always reseal the silicone housing
- Use silicone adhesive or sealant around the connector
- Check the IP rating after installation to ensure no moisture ingress
- Proper sealing prevents short circuits and premature LED failure.
Polarity and Wiring Considerations
LED neon flex is polarity sensitive, especially RGB or RGBW types.
- Check the + and – markings before connecting
- For RGB neon flex, ensure R, G, B, and + are correctly aligned
- Incorrect polarity may damage LEDs or reduce brightness
Safety Precautions
- Disconnect power before cutting or connecting
- Use insulated tools
- Avoid bending beyond the minimum bending radius
- Test the strip before sealing to ensure proper operation
These steps minimize the risk of electrical hazards and installation errors.
Troubleshooting Common Connection Issues
- LEDs not lighting at the end of the strip → Check polarity and soldering
- Uneven brightness → Consider power injection or shorter run lengths
- Moisture ingress → Re-seal silicone housing and connectors
Following proper cutting and connecting techniques prevents most of these problems.
Summary
Cutting and connecting LED neon flex safely requires:
- Understanding the cutting points and structure
- Using appropriate tools and connectors
- Maintaining waterproofing for IP-rated installations
- Respecting polarity and voltage requirements
- Proper handling ensures that your LED neon flex installation:
- Looks smooth and professional
- Maintains long-term reliability
- Meets safety standards
Other articles:
The Ultimate Guide to LED Neon Flex Strip
IP65 vs IP67 vs IP68 LED Neon Flex: What’s the Difference?
Silicone Neon End Cap vs Integral End Cap
Common LED Neon Flex Problems and Solutions
How to Install LED Neon Flex: Step-by-Step Guide
As a bespoke lighting solution provider, Yiholight specializes in high-quality LED strips and neon flex lights. Our products are engineered for durability, brightness, and ease of installation—trusted by B2B customers across the globe.
Contact us today to explore the best LED lighting for your business!
© [Yiholight] and [www.yiholight.com]. Unauthorized use or duplication of this material is strictly prohibited without express written permission from the site’s author or owner. Excerpts and links may be used, provided full, clear credit is given to [Yiholight] and [www.yiholight.com], with appropriate, specific direction to the original content.